If you are a rifle enthusiast, you know how struggling it is to find the perfect bullet size. To solve this problem, there is no other alternative to slugging. But how to slug a rifle barrel?
There are two ways to slug a rifle. One is to use soft lead for measurement. This might be done with some slugging kit and a few more accessories. Another way to slug your rifle is using Cerrosafe metal. This method is comparatively old and common to gunsmiths.
Now you must be wondering how to slug using these methods. Or which one is better for you? Don’t worry, we have explained it in detail to help you out. So, let’s waste no more time and dive into it!
Table of Contents
Can I Slug a Rifle Barrel at Home?
Yes! you can easily slug your rifle barrel just like you can remove the pitting of the barrel at home. You just need to buy the necessary tools and you are good to go. The process of slugging a rifle is also pretty safe.
Now, you might be thinking if rifle slugs hurt a smooth barrel. No, they don’t. All you need to do is be careful. Especially if you are a newbie,
Slugging the Rifle Barrel: 2 Simple Methods
There are basically two processes through which you can slug a rifle barrel. One is the lead slug method and the other one is using cerrosafe metal. The steps needed to slug along with precautions and tools have been described below.
A simple soft lead slug is significantly easier and more accurate for barrel size. It will return to the smallest diameter. Once it starts moving down the barrel, the force required to propel it is usually constant. That is a positive development for slugging.
On the other hand, cerrosafe has been used for measuring chambers for decades. Also, it cannot be stored, unlike lead due to the measurements changing. They are also riskier to use as there is hot melting metal involved and the user needs to be careful.
Before we Start
Before shooting a new acquisition, you should field the strip and clean it. However, the barrel needs further attention. There is usually a huge amount of gunk in a rifle.
Especially dirt like gilding metal, cupro-nickel jacket material, and powder fouling in most mil-surp barrels. On both lands and grooves, these materials can get frequently stuck in alternating layers. You cannot just clean them with a quick brushing with ordinary solvent.
Thus, more powerful medication is required. A professional or homemade electrochemical cleaning apparatus can also be used. These devices work wonderfully and eliminate a lot of the “elbow grease.” Another alternative is to use chemicals that are designed to aggressively dissolve fouling.
The following cleaning solvents are best known for getting your rifle easily cleaned.


It is important to keep in mind that some barrels will emit black specs even after proper cleaning. Have you heard of smokeless barrel steel? It is a model that has been manufactured to emit black foul and can never be fully clean.
Another thing to keep in mind is if your rifle barrel isn’t dismantled. It is advisable to put metal brass in the loading chamber. This will help you to prevent the bullets from getting stuck inside the barrel. This will also prevent any damage to the chamber. If the Rifle Barrel has been dismantled then putting in brass isn’t necessary.
Method 1: Lead Slug Method
After the cleaning procedure is done, the steps outlined below will begin with a barrel. To easily do the lead testing method, you can use the following slugging kit. Kits tend to vary as per your gun model and barrel size. We recommend these particular slugging kits:


Precautions
Lead poisoning can cause weakness in the fingers, wrists, and ankles. Lead exposure has been linked to an increase in blood pressure in people. While working to slug your barrel you will be highly exposed to lead. So, it is better to stay careful. You can use gloves and protective specs to reduce exposure.
Necessary Tools
Before getting into the process you have to gather some tools. To help you with that, here’s a list of tools that you need.
| Image | Required Tools | Order from Amazon |
|---|---|---|
 | Lead Sinker | Order from Amazon |
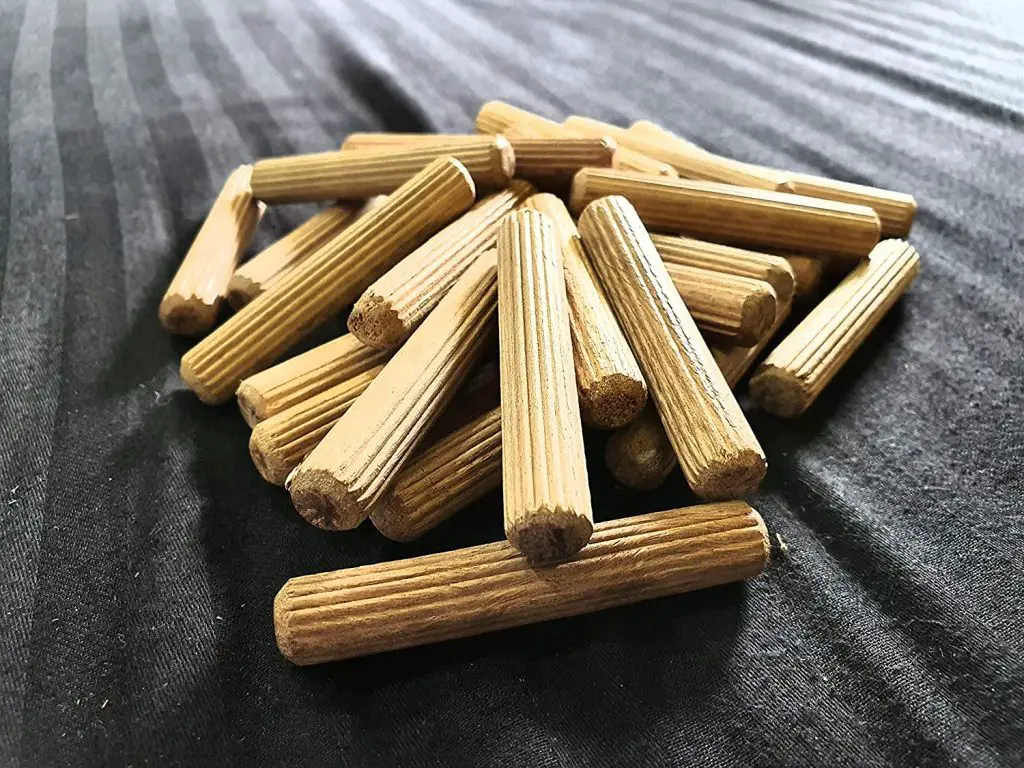
 | Doweling Kit | Order from Amazon |
 | Gun Oil | Order from Amazon |
 | Soft Towel | Order from Amazon |
 | Calipers | Order from Amazon |
 | Soft Faced Plastic Mallet | Order from Amazon |
 | Measuring Tape | Order from Amazon |
Step 1: Preparing the Barrel
Begin by tightly securing the weapon in a vertical position. Keep in mind that you’ll be pounding one end of the gun, so make sure it’s secure. To capture the lead sinker, wrap the towel around the base of the weapon. You should avoid dropping the slug because it deforms quickly.
Step 2: Cutting the Dowel
Now, close the bolt. Slide the dowel rod inside the barrel or it might hit the bolt face. Decide where you need to cut the dowel using measuring tape. So keep in mind that usually, the dowel’s end is 5 to 6 inches inside the barrel. Now cut the dowel after removing it.
Step 3: Lubricating the Barrel
Apply a light application of gun grease to the interior of the barrel. This will aid in the removal of our sinker. Replace and close the bolt after sliding the long length of the dowel rod back into the barrel from the breach. Cover the sinker with a generous amount of grease. Also, add some of the oil to the inside of the muzzle as well.
Step 4: Inserting the Lead Sinker by Hammering
Take the soft lead sinker and use the mallet to tap it into the muzzle. Now, which hammer should be used?
It is best to use a mallet. Depending on the purity of your lead sinker, you may need to use a metal hammer. Continue doing it until the muzzle is flushed with it. If you’re using a metal tack hammer, do not hit the barrel with it. This can damage the barrel.
Do you see a little amount of lead shearing off? This indicates that the lead is squeezing itself into the barrel.
Step 5: Slugging the Barrel
Drive the lead sinker until it strikes the long dowel with a short length of dowel rod. Tap it repeatedly until it is completely embedded in the grooves of the barrel. If the lead sinker gets stuck, tap it with the short dowel until it slides out. Tap the lead slug through the length of the barrel with the short bits of the dowel. Add another dowel section as you come closer to the muzzle.
The slug will eventually fall out of the chamber and land on your soft towel.
Step 6: Measuring the Diameter
Clean the slug gently and study it. Grooves and lands that correspond to the barrel’s rifling should be visible. But, how to measure rifle barrel diameter?
To determine the correct diameter of the barrel, use your micrometer or caliper. Place the caliper from land to land or ridge to ridge. Then measure the distance between the two and record it.
Once you determine the correct diameter, place the slug in a small container that won’t damage it. Write down the groove and land diameters, as well as the rifle’s identification.
Method 2: Cerrosafe Method
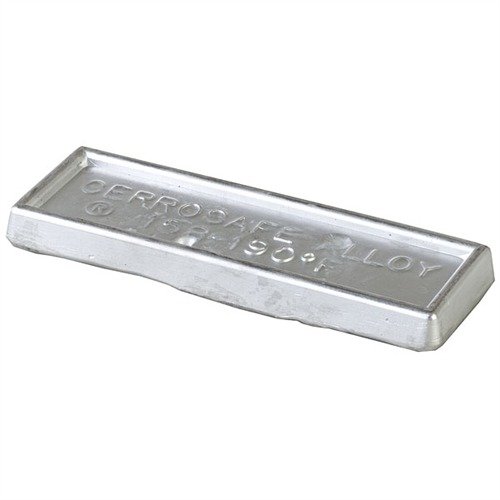
Well, there’s a possibility that you have never heard about this thing. So, actually what is cerrosafe?
Cerrosafe is a type of metal. This metal melts at temperatures below the boiling point of water. It has nearly perfect expansion properties. Not only this, cerrosafe metal shrinks during the first 30 minutes of cooling. After that, it returns to chamber size in an hour. It also will be enlarged by approximately .0025 inches within 200 hours.
The Cerrosafe method is for you if you’re trying to figure out the dimensions of a firearm. For instance, let’s talk about the pumps and auto rifles. You won’t be able to remove the plug from the barrel end or pour the Cerrosafe into the breach in these models. So, in those cases, it is better not to use this method of slugging.
The steps needed to do this method are given below.
Step 1: Preparing the Barrel
To use this method, you need to make a plug inside the barrel first. To do this, push a tight patch into the muzzle, a few inches inside the barrel.
If you’re looking for some cerrosafe metal you can get them from Amazon.
Now, melt the Cerrosafe in a small pan by using a double boiler. In case you don’t have a double boiler, you can use a trick! Place a small pan on a larger bowl of hot water. The heat of the water will melt the Cerrosafe.
Step 2: Forming Cast
Now carefully pour the metal inside the barrel and let it cool. Allow the Cerrosafe to cool and set it up once more. The dimensions of your chamber, chamber throat, and barrel front of the neck can be determined using a second approach.
So let’s get into the second approach.
- Firstly, form a plug about an inch ahead of your firearm’s chamber using a wooden stopper.
- Then, from the breech end, pour the Cerrosafe into the barrel.
If you pour too much Cerrosafe into the breech end of the weapon, it may block the barrel. This will also fill in the area of the bolt lugs or extractor. In this case, the Cerrosafe will not come out unless you melt it out. So, be careful.
Step 3: Finishing up
Now, you must push the casting out of the barrel once the Cerrosafe has been set up. Again, if you have utilized the muzzle cast, push it out from the breech with a cleaning rod.
Since Cerrosafe expands fast, make sure to do this within the first hour. First, the metal shrinks about .001″ after it has been cast, making it reasonably easy to remove from the rifle. Then it expands back to the size of the original cavity within roughly an hour.
As a result, remove it as quickly as possible. Take measurements within an hour or so. This is to get the dimensions of your barrel and/or chamber/throat/barrel. Now use the casting to take measurements of the bullet.
Can Lead Slugging be Used for Other Guns?
Yes! It can be. The method is the same but the slug size is different for each gun. Different guns also have different barrel sizes. There are also different bullet sizes to compare. Here, we have added a chart for you mentioning different common gun models and slug diameter. You can choose your bullet using these measurements.
| Gun Model | Slug Size/Diameter |
| 30, 31, 32 CALIBERS, 30 LUGER, 32/20 WIN., 32 ACP, 32 H&R, 8mm MAUSER, 7.65 MAUSER, 303 BRITISH, 32 REM., 30-06 SPRINGFIELD | .308 – .327 |
| 9 x 56mm, 9 x 57mm,.35 CAL., 9mm LUGER, 38 ACP, 380 AUTO, 38 SPL., 357 MAG, .38 S&W | .352 – .364 |
| .375 H & H MAG., .375 Win., .38/55, .378 WEATHERBY MAG. | .374 – .384 |
| .38/40, 40 S&W, 10mm, .41 S&W MAG., 41 AE. | .398 – .414 |
| .44/40, .44 MAG., . 444 MARLIN, .44 S&W SPL | .425 – .435 |
| .45/70 and .458 WINCHESTER, .45 ACP, .45 AUTO RIM, .45 COLT, .45 WINCHESTER MAG., .445 WEBLEY | .449 – .462 |
So, this is all about slugging your rifle barrel.
FAQs
Here are some of the common questions you might be wondering about. Do have a look.
Why do you Slug a Rifle Barrel?
A rifle is slugged so that you may accurately size cast lead bullets to entirely seal the bore. This is when shot by measuring the actual groove diameter of the bore. Diameters can vary significantly depending on different models. “Slugging” might be helpful in selecting jacket bullets for a specific barrel.
Which is better: Smoothbore or Rifle?
Smoothbore is a better choice. Smoothbore designs have the advantage of being more suited to fin-stabilized ammunition and having far less barrel wear than rifled types. A smoothbore cannon is now mounted on the majority of modern main combat tanks.
Conclusion
This was all from us about how to slug a rifle barrel. We hope we’ve been able to solve your rifle problem.
Again, don’t forget to clean your rifle properly before slugging it. Or else, your measurement will not be accurate. Hope the process goes well for you.
Thank you for staying with us till the end. Do let us know if you have any queries. Till then, happy shooting!